Complete guide to solving print quality problems with your HP printer – Detailed steps
The print quality of an HP printer can be affected by a variety of factors, from the condition of ink cartridges to driver configuration. In this guide, we’ll look at the common causes of printing problems and provide detailed steps for solving them.
Identify print quality problems
Before you start troubleshooting, it’s essential to identify the type of problem you’re experiencing:
- Blurred or grainy images
- Incorrect or missing colors
- Streaks or lines across the print
- Paper problems, such as jamming
Step 1: Check ink cartridges
Worn-out or incorrectly installed ink cartridges are often the cause of printing problems. Here’s how to proceed:
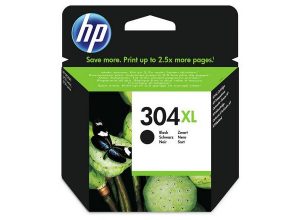
- Make sure the cartridges are not empty. Check ink level via printer software or menu screen.
- Remove ink cartridges and reinstall. Make sure they are firmly seated.
- If a cartridge is empty, replace it with a new one.
Step 2: Cleaning the printheads
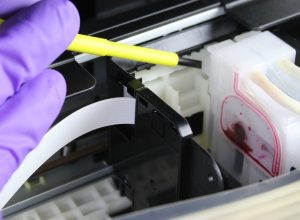
Clogged print heads can cause poor-quality prints. Cleaning can be carried out as follows:
- Access the printer control panel.
- Look for “Maintenance” or “Print head cleaning”.
- Select “Cleaning” and let the printer carry out the process. This may take a few minutes.
Step 3: Check print settings
Sometimes, incorrect settings in the print options can lead to problems:
- Make sure the correct paper type is selected in the print settings.
- Check the print quality. If it is set to “Ink Saver”, try setting it to “Normal” or “High Quality”.
Step 4: Update or reinstall drivers
An obsolete or corrupt driver can also affect print quality:
- Visit the HP website to download the latest driver for your printer model.
- Uninstall the old driver via the control panel, then install the new one.
Step 5: Print tests
After completing the above steps, perform a test print:
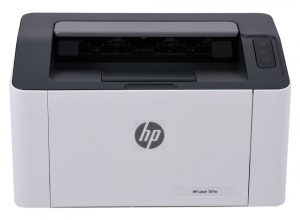
- Print a test page from the printer control panel.
- Examine the output quality. If the problem persists, further diagnostics may be necessary.
Step 6: Check computer settings
It’s also essential to check your computer settings:
- Test the connection between your computer and the printer (USB or network).
- Check other documents for problems before printing another file.
Step 7: Advanced diagnostics
If you have followed all the above steps without success, consider :
- Use the HP Print and Scan Doctor tool to identify specific problems with your printer.
- Contact HP technical support for professional help.
Conclusion
Solving print quality problems on your HP printer requires diagnosis and a series of methodical steps. By following this guide, you’ll be able to identify and solve most common printing problems, ensuring a pleasant and efficient printing experience.
