Contents
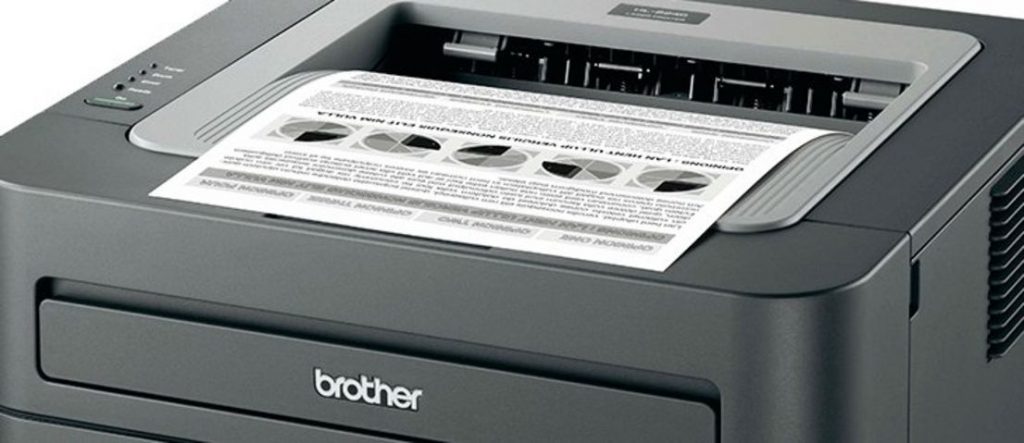
Complete guide to resetting a Brother toner counter – Detailed steps
Resetting the toner counter on your Brother printer is an important task, especially when the message “Toner low” or “Toner out” appears. This can happen even if you’ve recently replaced the toner cartridge. The steps below will guide you through the reset process, ensuring that your printer works properly without delaying your print jobs.
Preparing for reset
Before starting the reset procedure, make sure you have everything you need at hand to ensure a smooth and efficient process. Proper preparation is essential, especially to avoid mistakes that could compromise the whole operation. Here’s what you need to have and check:
- Your Brother printer connected and switched on: Check that your printer is correctly connected to a reliable power source and that it is switched on. Also make sure that the connection cables, either USB or network, are in good condition. This will ensure uninterrupted communication between your computer and printer during the reset.
- A new toner cartridge installed (if necessary): If your printer indicates low or exhausted toner, it’s a good idea to replace the toner cartridge before proceeding with the reset. A new cartridge will ensure print quality and avoid any confusion caused by an incorrect toner counter. Make sure the cartridge is compatible with your specific Brother printer model.
- User manual access: Having the user manual handy can be useful for referencing error codes or other specific instructions that may appear during the procedure. Each Brother printer model may have variations in the reset steps, so knowing the specific details is crucial for proper execution.
- A stable Internet connection (optional): Although most reset processes can be carried out offline, having an Internet connection can provide access to additional resources, such as support forums or tutorial videos, which offer practical advice and real-time troubleshooting solutions, if required.
Steps to reset the toner counter
The steps vary slightly depending on the model of your Brother printer. Here is a detailed guide for the most common models:
For HL and DCP series models :
- Open the top cover of the printer.
- Remove the toner cartridge from its slot.
- Locate the “Go” button, usually on the rear or front panel of the printer.
- Press the “Go” button several times (usually 6) to enter reset mode.
- Then close the top cover.
- Press the “Go” button once to reset the toner counter.
- Finally, reinstall the toner cartridge and close the cover.
For MFC series models :
- As before, open the top cover and remove the toner cartridge.
- Press the “Menu” button on your control panel.
- Use the arrows to navigate to “Reset” or “Reset toner”, then press “OK”.
- Select the type of toner to be reset (BLK, CYAN, MAG, YLW) and press “OK”.
- Confirm by pressing “OK” again.
- Finally, reinstall the toner cartridge and close the top cover.
Tips and warnings
– Always use original or equivalent quality toner cartridges to avoid performance problems.
– Do not force the printer cover, as this may damage the internal mechanisms.
– If you encounter problems after resetting, consider consulting your model-specific user manual for further advice.
Conclusion
Resetting the toner counter on your Brother printer is an easy process that can extend the life of your machine and allow you to continue printing without interruption. Follow these simple steps to keep your printer running smoothly.