Contents
Complete Guide to Resolving Paper Jams in HP Printers – Detailed Steps
Paper jams are one of the most common issues faced by users of HP printers. They can occur for various reasons, from improper paper loading to mechanical malfunctions. This guide provides a comprehensive approach to diagnosing and resolving paper jams in HP printers, ensuring smooth operation and optimal performance.
Understanding the Causes of Paper Jams
Before diving into solutions, it’s essential to understand what causes paper jams. Common reasons include:
- Incorrect paper type or size
- Overfilled paper trays
- Worn out rollers
- Obstructions in the paper path
- Dirty or damaged print heads
- Incompatible software or settings issues
Initial Checks
Before attempting to clear a paper jam, perform the following checks:
- Ensure the printer is powered on and not in a state of error.
- Open all access doors to inspect for visible obstructions.
- Check for error messages on the printer display or connected software interface.
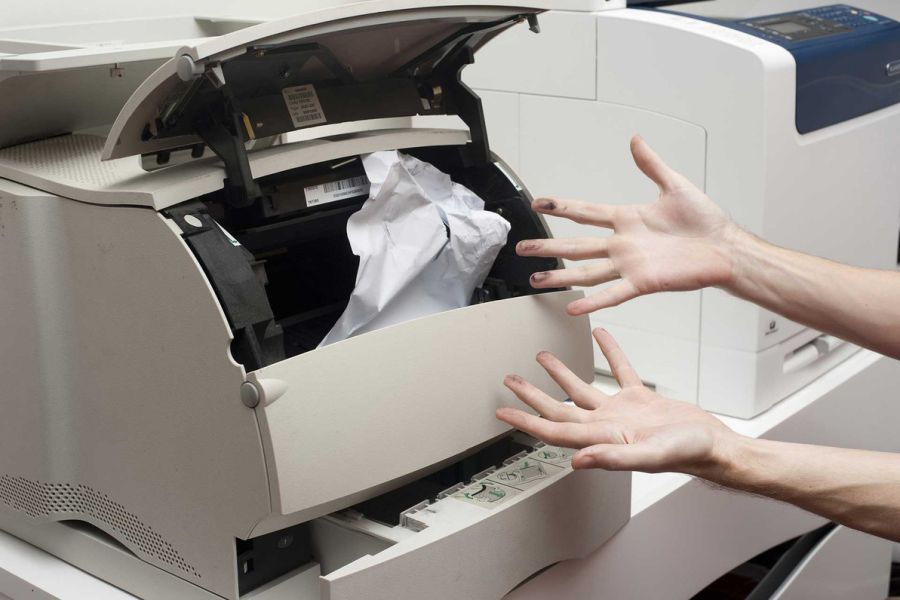
Step-by-Step Process to Clear a Paper Jam
Follow these detailed steps to efficiently clear a paper jam in your HP printer:
1. Power Off the Printer
Always start by powering off the printer to prevent electrical hazards and to facilitate safe handling.
2. Remove Paper Trays
Remove the input and output paper trays. This will give you better access to the paper path.
3. Inspect the Paper Path
Look inside the printer for jammed paper. If you see any, gently pull it out while being cautious not to tear it.
4. Check the Rollers
Inspect the rollers for wear and tear. If they are dirty, clean them using a damp cloth. If they appear damaged, they may need replacement.
5. Clear Any Obstructions
Look for any foreign objects that may block the paper path (e.g., staples, paper clips). Remove any detected objects.
6. Open Rear Access Door (if applicable)
Some HP models have a rear access door for better clearance. Open this door and repeat the inspection and clearing process.
7. Reassemble the Printer
Once everything is cleared, reinsert the paper trays and close any access doors firmly.
8. Power On the Printer
Turn the printer back on and allow it to initialize before attempting to print again. Monitor the printer display for any error messages.
Preventive Measures
To minimize the occurrence of paper jams in the future, consider the following preventive measures:
- Use the correct paper type and size specified for your printer model.
- Avoid overloading the paper tray.
- Regularly clean the printer rollers and the interior to prevent dust accumulation.
- Ensure that the printer firmware is up to date.
- Store paper in a cool, dry place to prevent moisture-related issues.
Troubleshooting Tips
If paper jams persist after following the above steps, use these troubleshooting tips:
- Reset the printer to factory settings.
- Check for firmware updates from the HP support website.
- Consult the user manual specific to your printer model for model-specific tips.
- If necessary, contact HP customer support for professional assistance.
Conclusion
Paper jams can be frustrating, but by following these detailed steps, you can efficiently handle the issue and restore your HP printer’s functionality. Regular maintenance and preventive measures will ensure long-term reliability and performance.